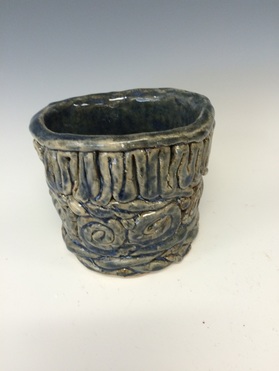
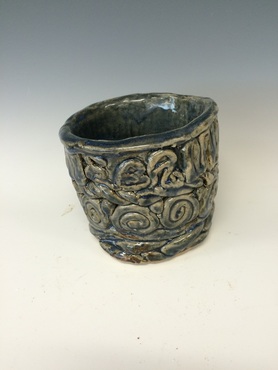
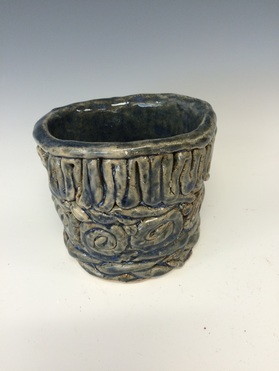
Coil cup
1. Roll out a slab of clay
2. Smooth out both sides of the clay using a rib (smooth metal rib or a rubber rib)
3. Pick a cup to trace and to cut out to use as the bottom of your cup
4. Roll out even coils and shape them into different designs
5. Add your designs onto the coil cup and smooth out the cup as you go
6. Use at least three different coil designs and when you are done, smooth out the inside again to make sure there are no holes. If needed, a good way to close the holes is to use small balls
7. Dip glaze the cup
A good coil has:
- An even thickness through out the whole coil
- A pinky thick thickness
- A smooth exterior
finished pictures
|
|
|